
The purpose of a sound-absorbing panel is to tackle the sound of echoes coming from reflections. The main objective of these panels is to absorb sounds in a room. Building a sound panel art is very simple, uses thick wood frames, and is stuffed with sound-absorbing egg crate foam. This art can be designed according to the home decors and surroundings to give a match. Sharing below is an easy step-by-step DIY for sound-absorbing panels.
Materials Used
The list of materials or tools that should be collected or gathered before starting the DIY process of sound art panels:
- 2*2, 1.5 inches deep art canvas- 1 number
- 2*2, 1.5 inches thick sound absorbing egg crate foam- 1 number
- Acrylic paint
- Paper backing (either uses old newspaper)
- Picture hangers- 2 per panel
- Scissors
- Paint Brushes
- Staple gun
- Hammer
- Screwdriver, Drill
Paint the Canvasses
Draw any of your imagination on the canvas, or hire any professional to do it for you. One can also paint the canvas the same as the color of the wall to blend with it. Painting a wall doesn’t have much effect on the performance of the sound-art panel; therefore, one can paint it in any way. Let the paint on the canvas dry before proceeding to the next step.
Foam Installation
Cut the foam to fit the size of the canvas and place it inside it. Now cover the back of the panel with paper by ensuring smoothness. Staple the paper onto the canvas panels with a staple gun.
Picture Hanger Installation
Installing picture hangers will help to attach the panels to the wall. Typically, the picture hangers come in packs of 2 to 6. Each panel canvas requires two hangers. Select the 2 top corners of the panel and install picture hangers there. Use fingernails to attach the hangers to the panel art. Now, mount the sound panel art to the wall.
Panels Mounting
Decide the location of the wall where the panels are to be mounted. Measure the height and rotation of the panels carefully. Also, assess the level and angle while installing the screws for mounting the panels. Mark the location where the screws are to be installed and fix them. Now, hang the canvas panels on the screws and check whether the sound panel art is working fine or not.
Applications of Sound Panel Art
The applications of sound panel art for any certain specific, generic, or different purposes are:
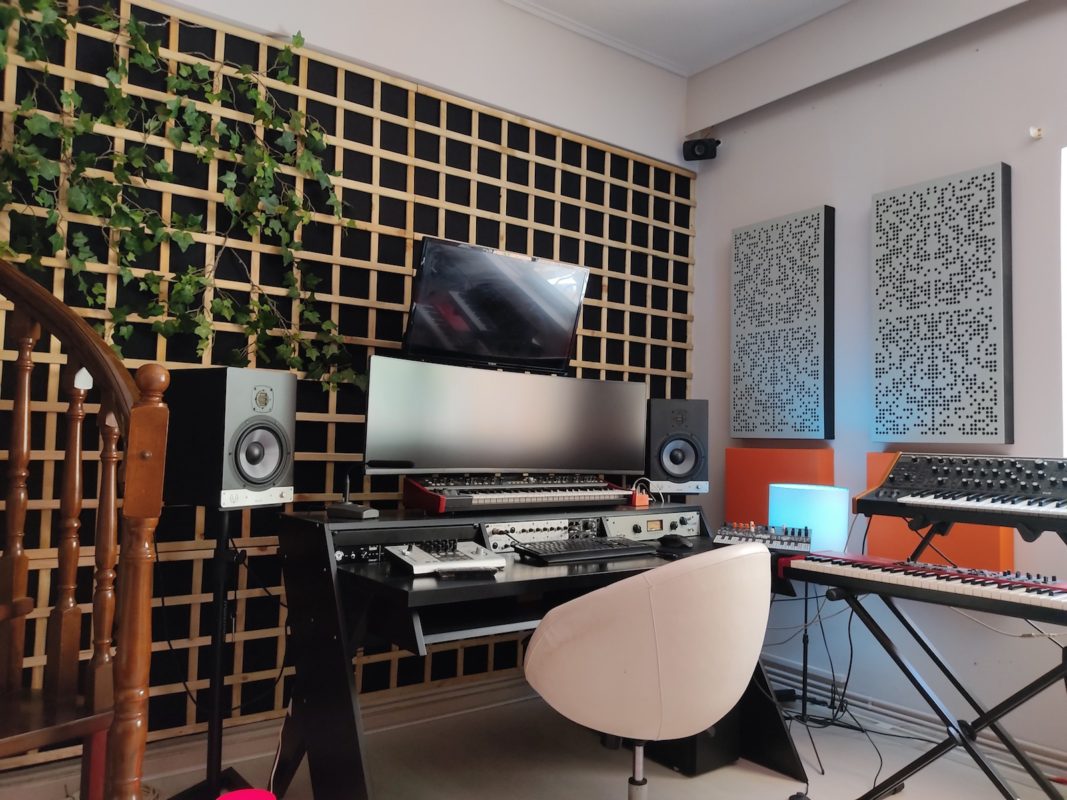
- To provide much better listening conditions in control rooms and recording studios.
- To reduce noise, din, and chatter in bars, restaurants, and crowded gathering spaces.
- To reduce reverberation and slap-back echo in contemporary churches, auditoriums, and large halls.
- To enhance surround-sound clarity for video games, sports, and DVD/blu ray movies in a home theater.
Conclusion
There are many DIYs to build acoustic sound art at home. The above one is the simplest and most cost-effective option. Moreover, hire a professional to give a more professional look to the sound panel art.
